Welcome to Maple home page
Search...
⌘K
Introduction
Overview
Why Maple?
Who is Maple for?
How Maple Works
Getting Started
Subscriptions and Pricing
Billing Mechanisms
Invoicing and Payments
Contracts and CPQ
Reports and Analytics
Hosted Experiences
Integrations
Overview
Email and Notifications
Sendgrid
Postmark
Custom Email Domains
Slack
Payment Providers
CRMs
E-Signature Platforms
Accounting Platforms
Tax Platforms
Data Import and Migration
Security and Compliance
Blog
Book a Demo
App Dashboard
Welcome to Maple home page
Search...
⌘K
Blog
Book a Demo
App Dashboard
App Dashboard
Search...
Navigation
Introduction
API Reference
Introduction
API Reference
Email and Notifications
Postmark
1
Create a Postmark Account (if needed)
Visit
Sign up
page in Postmark.
2
Verify your domain
Verify your domain or sender signature if you have not already completed it. See
https://postmarkapp.com/support/article/1046-how-do-i-verify-a-domain
for more details
This needs to be completed in order for us to be able to use your “From” address.
3
Create Server Token in Postmark
Visit
API Tokens
page in Postmark.
4
Paste API Key in Maple
Visit the
Integrations
tab in Maple. Find the
Postmark
integration and click on
Install
. Paste the API copied from Step 3, then click
Update
.
5
Copy Webhook URL from Maple
6
Create Webhook in Postmark
Go to
Servers
in Postmark.
Select the appropriate
Server
. Then select the appropriate
Message Stream
.
Click on
Webhooks
tab.
Click on
Add Webhook
.
Paste the webhook url from Step 5.
Ensure the following events are sent:
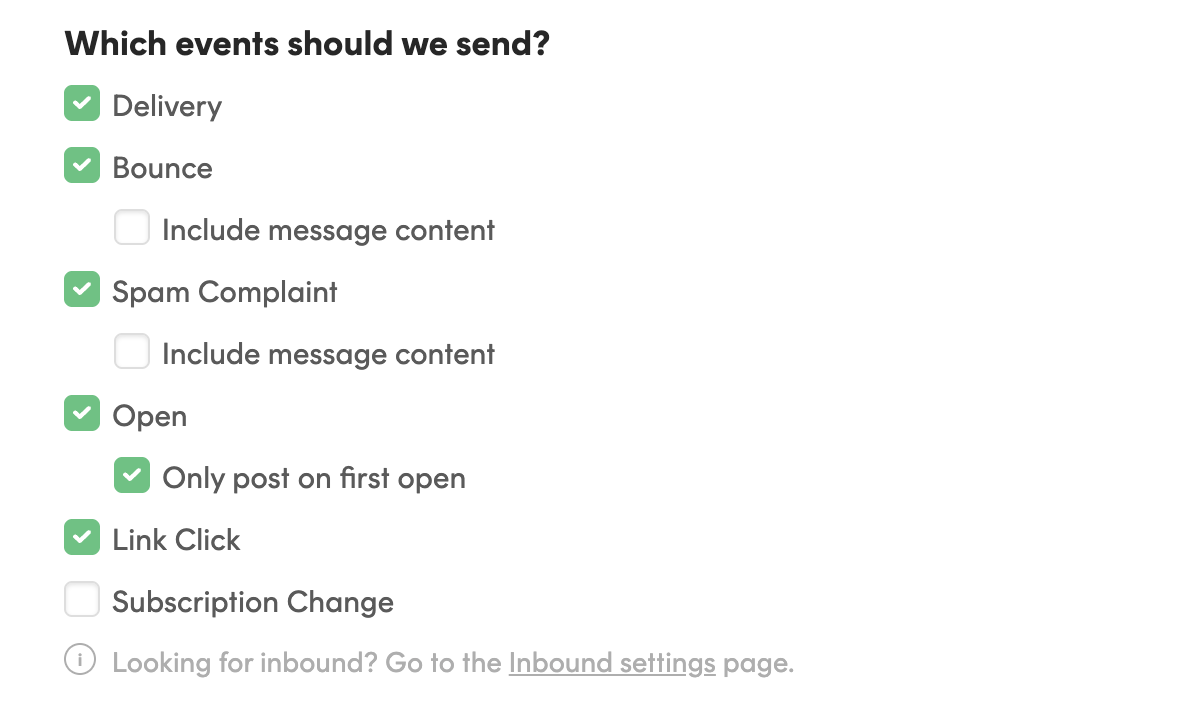
Click “Save Webhook”
7
Provide From Address
Ensure the “From Address” is part of the domain verified or is exact “Sender Signature” added in Step 2
8
Completed
Previous
Custom Email Domains
Next
Assistant
Responses are generated using AI and may contain mistakes.